| View previous topic :: View next topic |
| Author |
Message |
MANFIO
Super Member
Joined: 11 Apr 2007
Posts: 458
Location: Sao Paulo
|
 Posted: Mon Mar 10, 2008 7:26 am Post subject: Posted: Mon Mar 10, 2008 7:26 am Post subject: |
 |
|
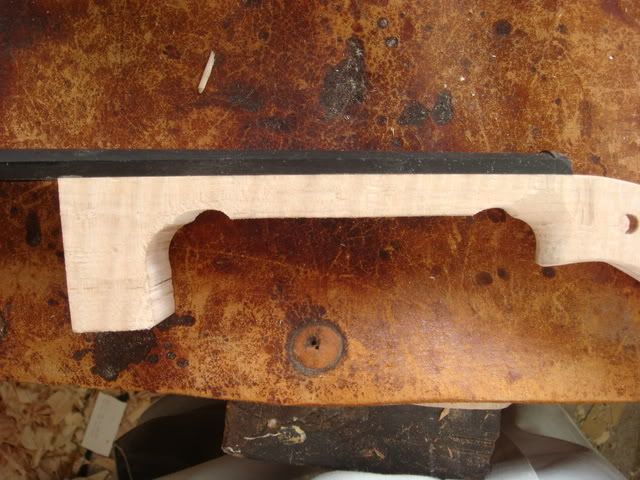
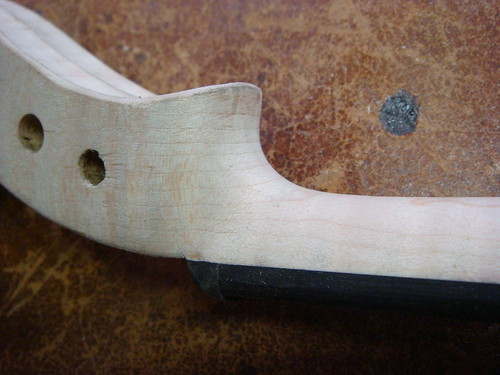
I still will have to make some refinishing on my scroll but now I'll work on the neck. Here I worked with an aggressive rasp till the final thickness of the neck, 18.5 and 20, I'll remove the wood betwen these points:
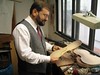
You may have the impression that my workshop is a mess, there is a good quote by Oscal Wilde about first impressions: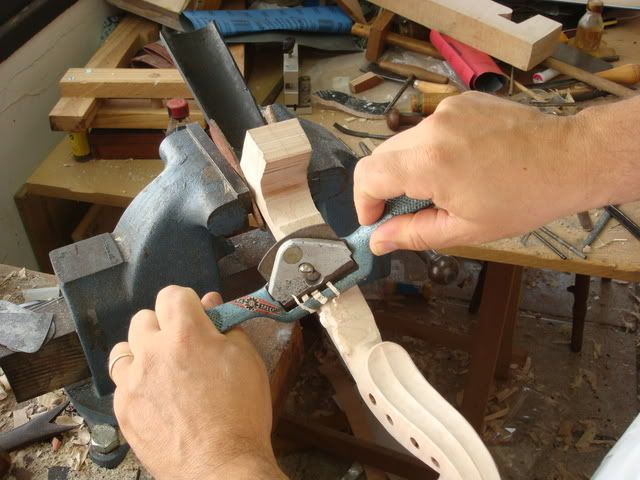
Here I wrapped a coarse sandpaper in a round chisel handle to work in this region:
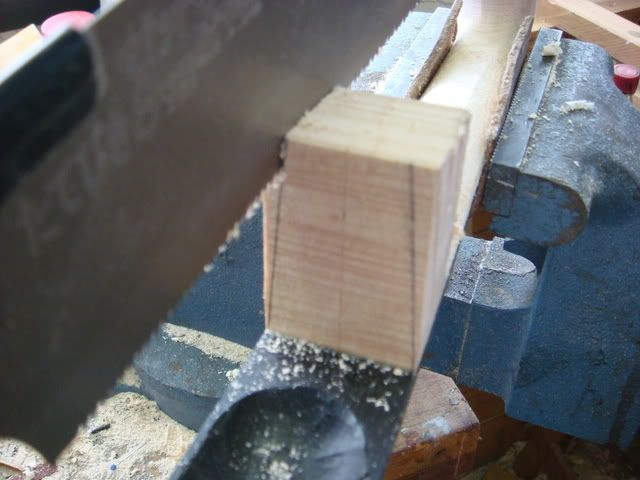
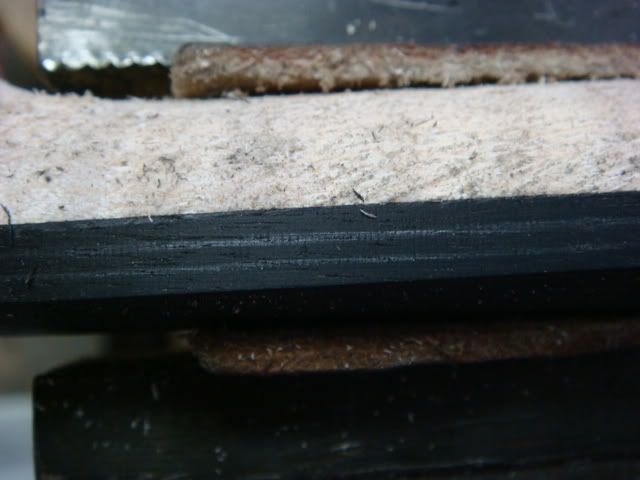
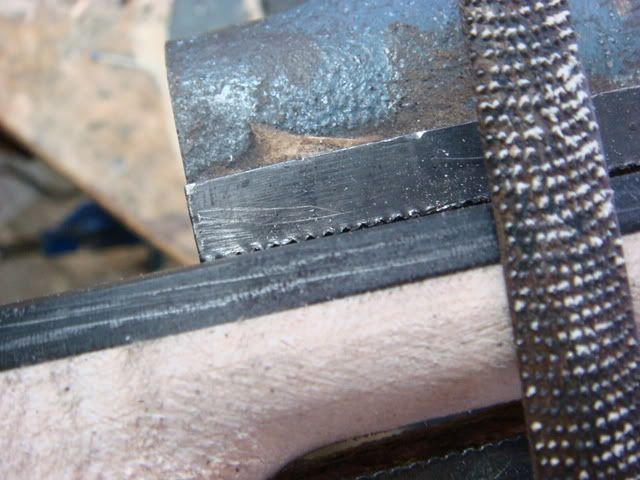
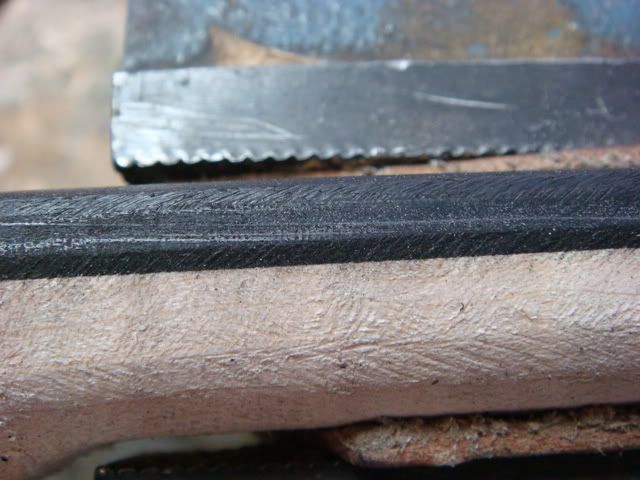
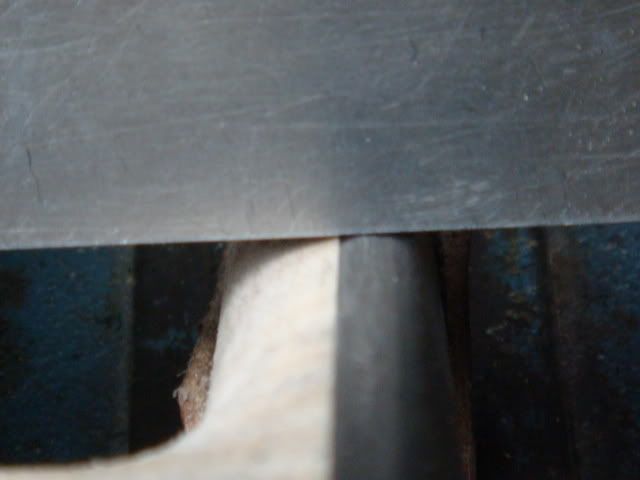
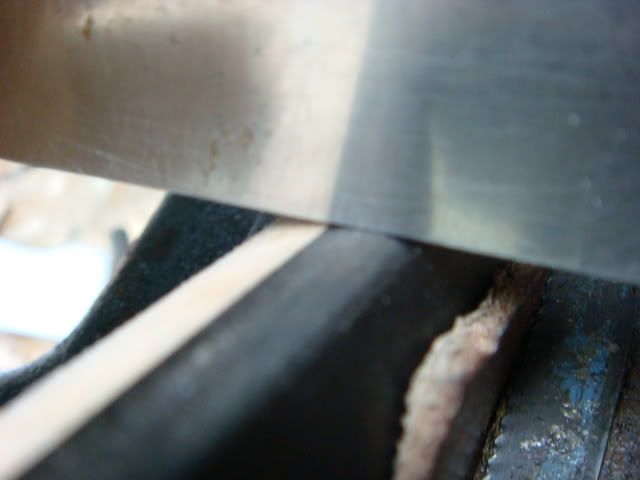
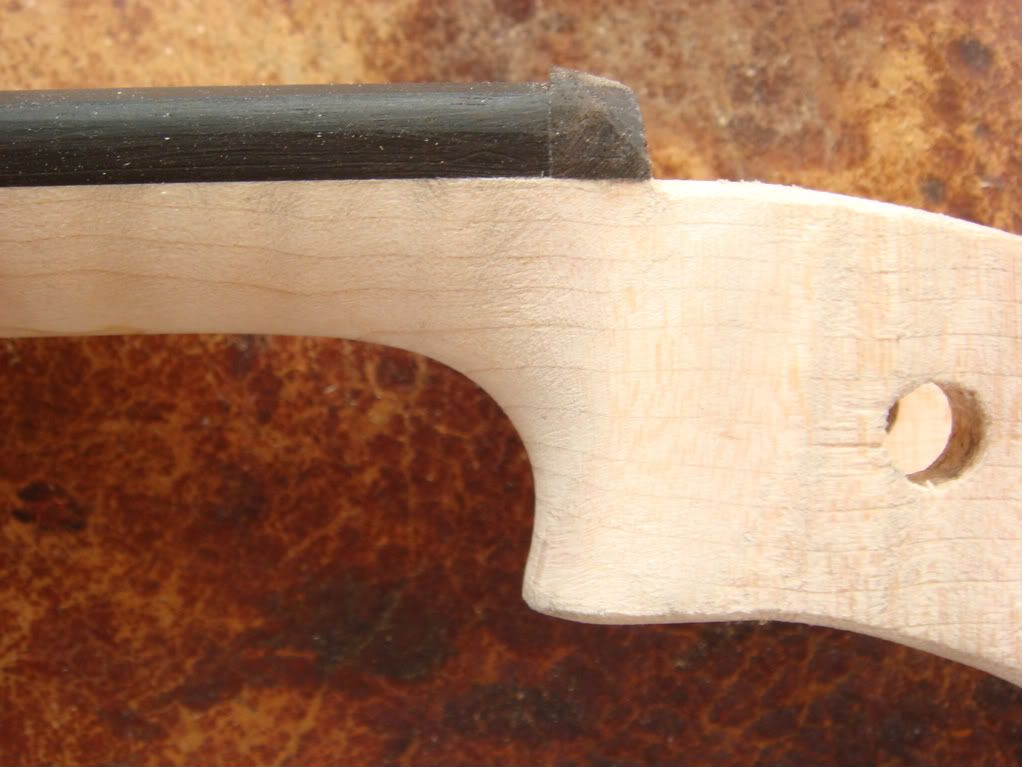
Here I'm cutting the neck root with my Japanese saw:
Working in the neck with a rasp:

_________________
www.manfio.com
http://www.flickr.com/photos/7875988@N02/with/464604020/
Last edited by MANFIO on Sat Jan 17, 2009 7:55 pm; edited 1 time in total |
|
| Back to top |
|
 |
Fiddledeedee
Member
Joined: 07 Mar 2008
Posts: 39
Location: Pennsylvania
|
| Posted: Mon Mar 10, 2008 1:59 pm Post subject: Thanks!! |
|
|
Hi Manfio,
I just want to thank you for showing your professioal work. Not only are you putting alot of effort into this scroll, but it's also alot of work to take pictures step by step, load the picturers, file the pictures and load them to this site, and discribe it all.
I've learned alot from reading it all and seeing the pictures. Your very good at discribing them. Not to mention making that scroll. I knew they are carved by hand but I didn't know all the details. 
So Thanks for all your hard work. I can't wait to see the end results!! 
_________________
She could sing nothing but "Fiddle cum fee
The mouse has married the humble-bee"
by Halliwell |
|
| Back to top |
|
|
MANFIO
Super Member
Joined: 11 Apr 2007
Posts: 458
Location: Sao Paulo
|
| Posted: Tue Mar 11, 2008 12:00 pm Post subject: |
|
|
Thank you!
Now I will shape the neck and fingerboard. I'll divide the side of the fingerboard in 3 parts:
First I'll round the two external thirds, preserving the central one that will correspond to the widest part of the neck:
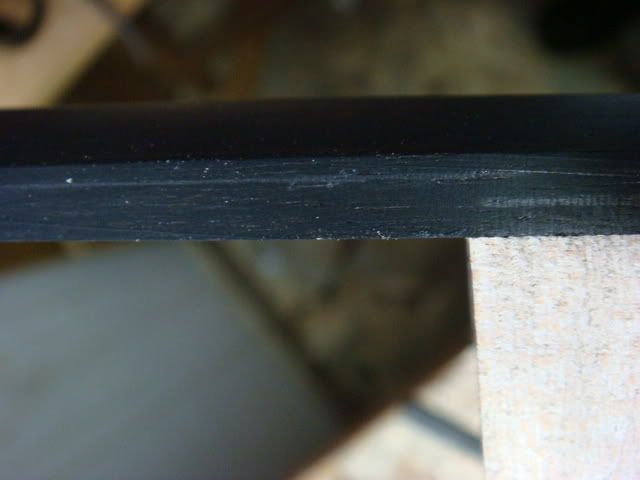
Here a straight edge over the side of the fingerboard showing the central third as the wides part of the fingerboard:
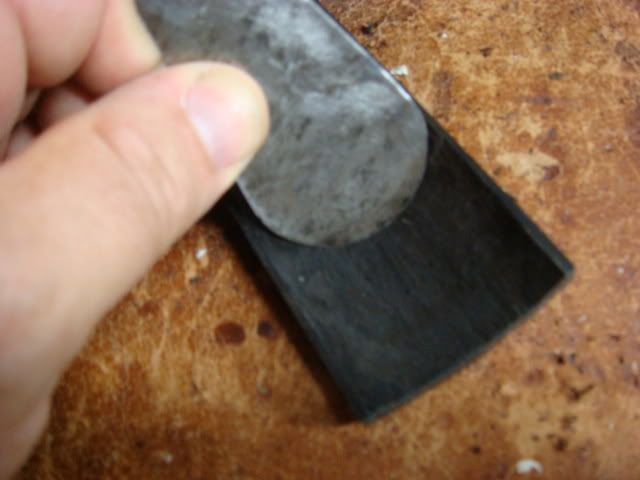
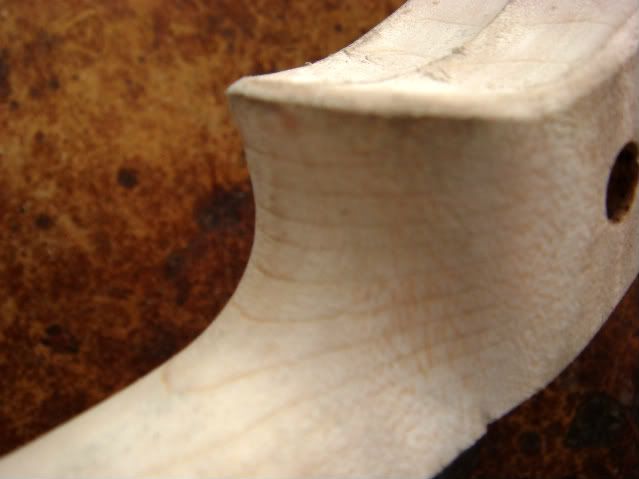
On the part of the fingerboard that is not glued to the neck just the upper third will be rounded:
Here a shaped scraper is used for finishing the inside hollowing of the fingerboard:
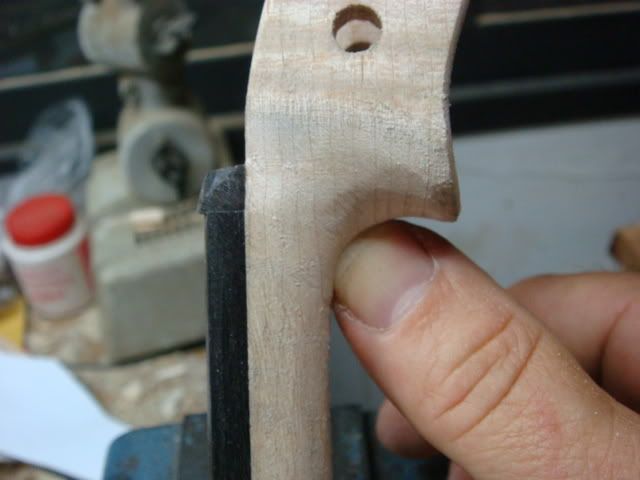
I use my thumb's nail to guide me shaping this area (here not finished yet):
_________________
www.manfio.com
http://www.flickr.com/photos/7875988@N02/with/464604020/ |
|
| Back to top |
|
|
JWH
Member
Joined: 26 Mar 2007
Posts: 72
|
| Posted: Tue Mar 11, 2008 2:42 pm Post subject: |
|
|
I have to comment with great appreciation, Manfio, on all your work and special thanks for this edition. Hope you can do more in the future.
Love your use of the thumbnail as a template. I can't keep from chewing mine. |
|
| Back to top |
|
|
MANFIO
Super Member
Joined: 11 Apr 2007
Posts: 458
Location: Sao Paulo
|
| Posted: Sat Mar 15, 2008 4:46 pm Post subject: |
|
|
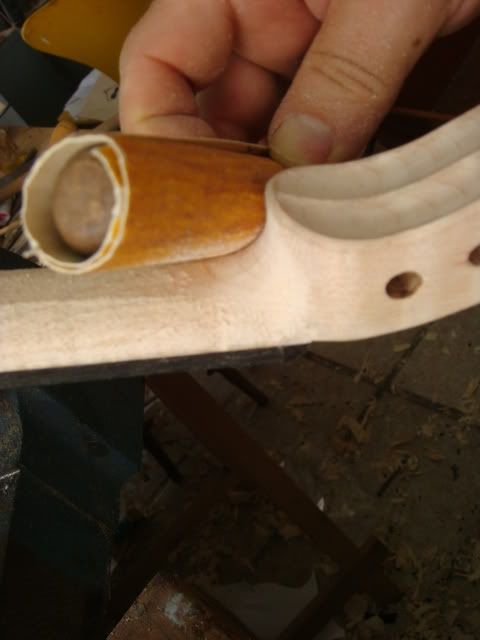
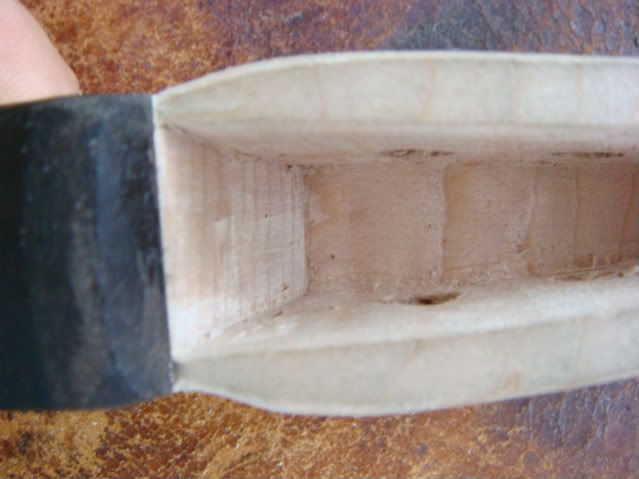
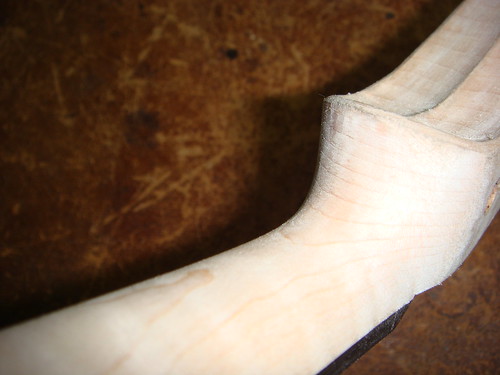
This is the front view of the pegbox near the nut. Notice that just the outer side of the pegbox walls are chamfered, the inner parts remain not chamfered. The "floor" of the pegbox is finished with a chisel used as a scraper.
While working in the the neck, take care to avoid ebony dust reaching the maple because it will stain the maple, mainly if you are using sandpaper.
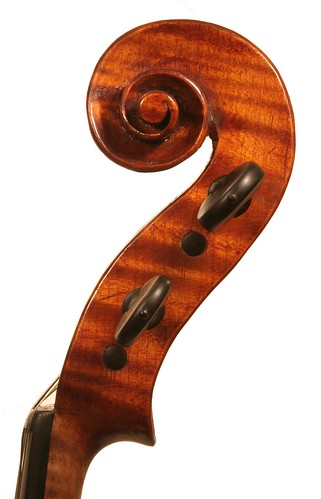
And finally, here the photo of the real McCoy and my new scroll:

_________________
www.manfio.com
http://www.flickr.com/photos/7875988@N02/with/464604020/ |
|
| Back to top |
|
|
actonern
Super Member
Joined: 15 Aug 2007
Posts: 444
|
| Posted: Sun Mar 16, 2008 6:37 am Post subject: |
|
|
Manfio:
I would be thrilled if you could one day do a series like this with pictures of your varnishing process, illustrated from tanning, fuming, staining, ground, color varnish to polish...
Best regards, |
|
| Back to top |
|
|
Jack H.
Super Member
Joined: 24 Mar 2007
Posts: 346
Location: Israel
|
| Posted: Sun Mar 16, 2008 12:43 pm Post subject: |
|
|
[quote="MANFIO"]I'll quote again the Maestro Carlo Vettori:
quote]
I met the Vettori family in Frankfurt a few years ago.
Very nice people!
I have the poster of the old man working outside with one of his ofspring sitting on the ground chewing on what apears to be a form of glued table...
Guess it is all in the upbringing.
J |
|
| Back to top |
|
|
MANFIO
Super Member
Joined: 11 Apr 2007
Posts: 458
Location: Sao Paulo
|
| Posted: Sat Mar 22, 2008 9:36 am Post subject: |
|
|
Yes, Carlo Vettori is quite a fine man and liutaio.
A varnish tutorial would be much more difficult because many things can change in the middle of process due to differences in colour, absortion of the ground, etc. Althought my process has a main idea (that I have already exposed here) the varnishing process is a much more dynamic one.
_________________
www.manfio.com
http://www.flickr.com/photos/7875988@N02/with/464604020/ |
|
| Back to top |
|
|
byacey
Member
Joined: 29 Mar 2008
Posts: 105
Location: Edmonton, Alberta
|
| Posted: Sat Mar 29, 2008 9:19 pm Post subject: |
|
|
| I would like to add - I find it best to drill the peg holes (.22 inch) first before even cutting out the outline from the neck block. This ensures the holes are straight and square to the center line and are useful later when cutting the pegbox to depth. |
|
| Back to top |
|
|
MANFIO
Super Member
Joined: 11 Apr 2007
Posts: 458
Location: Sao Paulo
|
| Posted: Tue Apr 22, 2008 7:42 am Post subject: |
|
|
Yes, but I don't have a collunn driller... my workshop is rather Franciscan...
Well, I varnished the viola and my violist/photographer friend Andrès Lepage took some pics of the varnished scroll featured in this tutorial:


_________________
www.manfio.com
http://www.flickr.com/photos/7875988@N02/with/464604020/ |
|
| Back to top |
|
|
|

